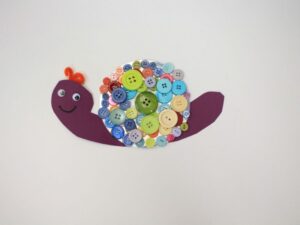
Snail Project
Materials
- CD
- Cardstock, color of your choice
- Buttons (sizes may vary)
- Glue
- Scissors
- Pipe Cleaner
Directions
- Glue the buttons on the snail in a circular motion. Start from the outer part of the CD and work your way to the middle. You don’t need a lot of glue, just enough to paste the button. The more glue you use, the longer it takes to dry.
- While the glue is starting to dry, draw what you want your snail to look like. Remember, the shell is the CD, so don’t make it too small or too large.
- Cut out the snail and glue its shell (CD) onto it’s back (the middle part of the snail).
- Cut a pipe cleaner and curl the ends and glue or tape it to the head of the snail.
- Draw eyes and a smiley face. Now, it’s time to name your snail.


